A macOS menu bar app that shows any display, including virtual ones, in real-time PiP. Two clicks move your cursor there so you can control it directly.
What is PiP?
PiP (Picture-in-Picture) keeps video in a small floating window above everything else. It is the same idea as YouTube mini-player mode, except gjPiP floats the display itself, not a video.
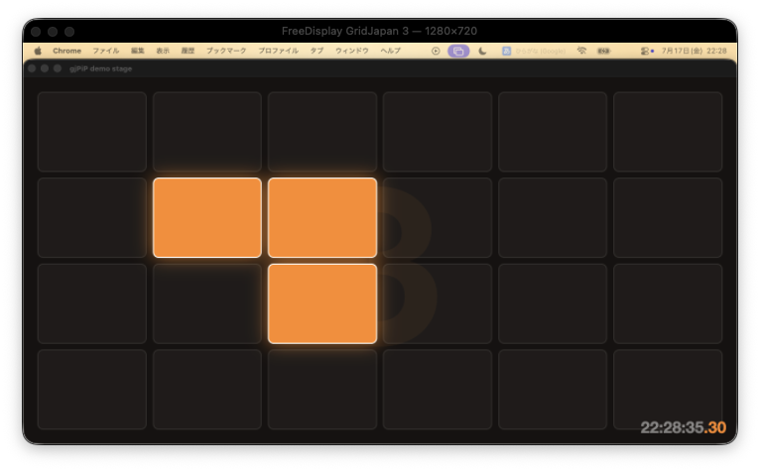
Live recording of the main monitor shown in PiP (actual speed)
You do not need $21.99 for PiP.
In BetterDisplay, PiP and video filters are Pro features ($21.99 one-time purchase). gjPiP delivers the same class of features for free under MIT, and adds mouse control through PiP, a feature not listed in BetterDisplay's official docs. See the comparison →
01
Show your main monitor in PiP, and it becomes an infinite mirror
Live capture, not a recording.
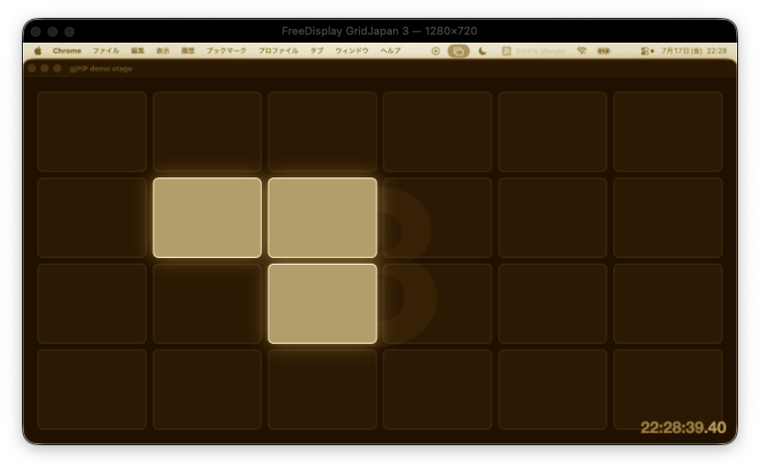
The PiP (Picture-in-Picture) content is a live capture. Since the display includes the PiP window that is showing it, dragging the window moves the entire mirror tunnel with it.
Actual speed
02
Two clicks in PiP → your cursor moves there
Interaction mode.
The first click focuses the window. The second click enters control mode. Your cursor moves to the other display, and your physical mouse controls it directly. Move to the window edge to return to reality. If you ever get stuck, press Esc five times quickly to force an exit.
1.3x speed / Shown display is a virtual display with no physical monitor (1280×720)
03
Gather every PiP on your main monitor with one command
Gather.
If you lose a PiP off-screen or on a virtual display, bring it back with Gather All PiP on Main Monitor from the menu.
1.4x speed
04
Apply 17 video filters per PiP
Core Image, chained.
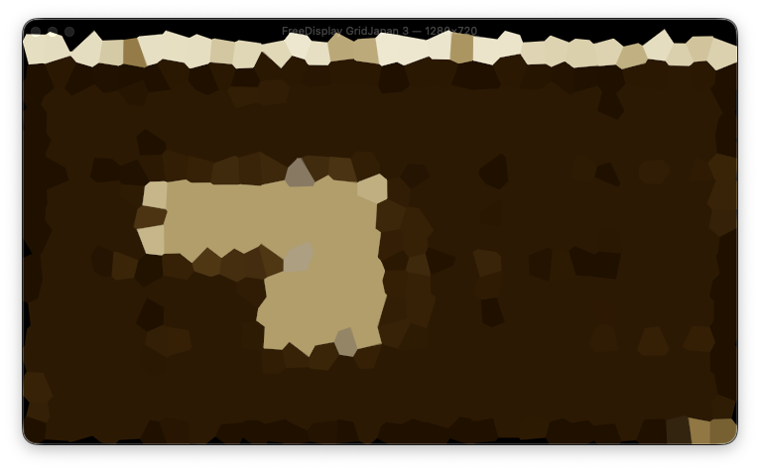
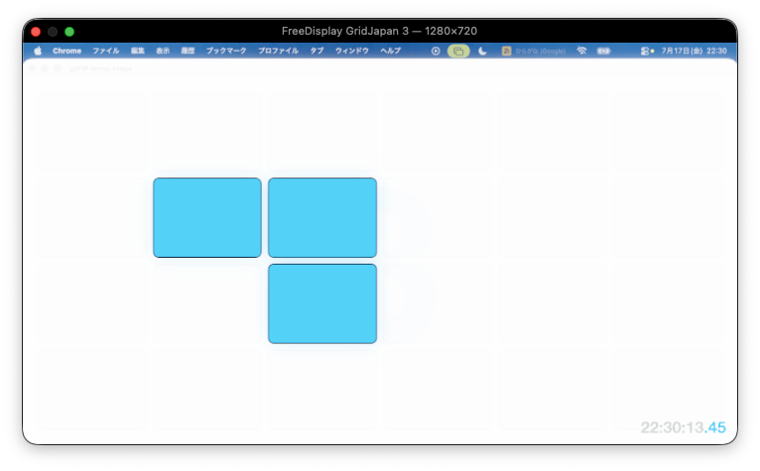
Basic adjustments (brightness, contrast, saturation, hue, color temperature, gamma), sharpen and blur, plus effects (invert colors, sepia, monochrome, vignette, edge detection, crystallize, hexagonal pixelate). You can apply multiple filters at once, and clearing them restores the original image. Filters run on the GPU, so the capture path stays zero-copy.
Open a PiP for each display. Each one is an independent capture.
Per-PiP settings
Set always-on-top, frame rate, exit edges, and filters separately for each window.
Always on top
Off by default. Turn it on to keep the window from being covered by other windows, though it will no longer appear in Mission Control.
Return to reality by moving to the screen edge
Exiting control mode feels the same as moving out of a monitor. You can enable or disable each exit edge independently. By default, only the bottom edge is off because that is where the Dock appears.
Frame rate
Switch each PiP between 30, 60, and 120 fps.
Force exit
Press Esc five times quickly, or press Control + Command + Esc, to recover your mouse at any time.
06
Compare
Here are the key differences from BetterDisplay Pro. gjPiP provides PiP features comparable to BetterDisplay Pro ($21.99) for free. Mouse control through PiP is not listed in BetterDisplay's official README. Crop, rotation, and zoom are not implemented yet.
Item
BetterDisplay
FreeDisplay (official)
GridJapan/FreeDisplay
GridJapan/gjPiPWindow
Price
Free version + Pro $21.99
Free
Free
Free
Source available
×
◎
◎
◎
DDC control (brightness and contrast)
◎
◎
◎ + crash fix
−
HiDPI virtual displays
◎ (flexible HiDPI is Pro)
◎
◎ + remembers resolution
−
Display arrangement
◎
◎
◎ + main display rollback fix
−
Picture in Picture
◎ (Pro)
×
×
◎ Free
Mouse control through PiP
Not listed
×
×
◎ control mode
Video filters
◎ (Pro)
×
×
◎ 17 filters, stackable
Fixes for 4 known bugs
−
× (bugs present)
◎ fixed
−
The BetterDisplay column is based on the official GitHub README and betterdisplay.pro as of 2026-07. "Not listed" means no description of that feature was found in the official materials. The FreeDisplay column is based on the code and README in the GridJapan/FreeDisplay repository.
07
Install
Build from source. TCC (screen recording and accessibility) grants permissions only to signed .app bundles, so make sure to use build.sh.
# Create a self-signed certificate (one time only; permissions will survive rebuilds)
./make-signing-cert.sh

# Build and launch
./build.sh
open build/gjPiP.app
Permission
Use
Location
Screen Recording
Capturing displays
Privacy & Security → Screen & System Audio Recording
Accessibility
Control mode (handing off the mouse)
Privacy & Security → Accessibility
Restart the app after granting either permission. Permission dialogs may appear on another display.
08
Use it with FreeDisplay
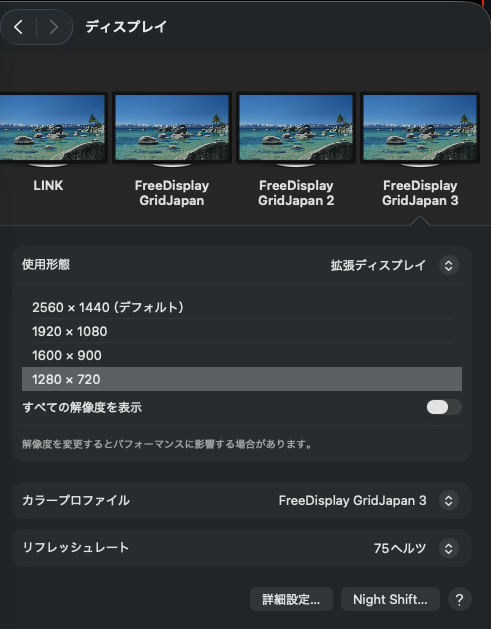
The virtual displays themselves are created by GridJapan/FreeDisplay. This fork fixes four bugs still present in official FreeDisplay (DDC crash, empty menus, main display setting rollback, and failure to create a third display) and remembers virtual display resolutions. gjPiP is the app that shows and controls those invisible screens.
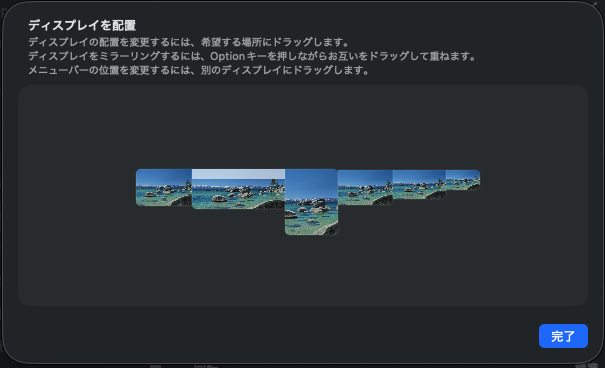
System Settings "Arrange Displays" - three physical displays plus three virtual displaysVirtual displays also offer resolution and refresh rate (75Hz) options